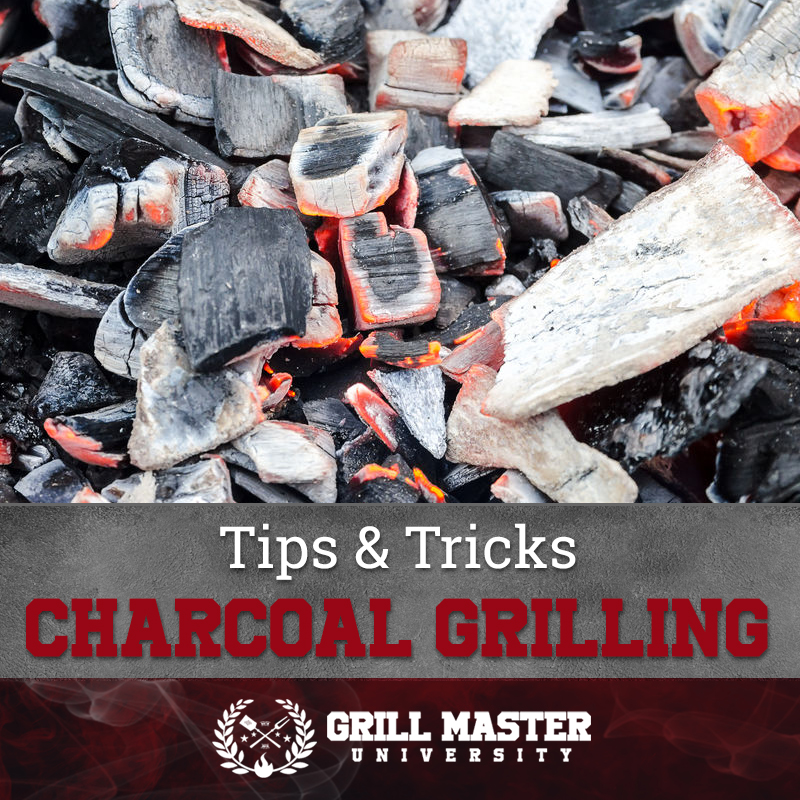
There are few better ways to enjoy a beautiful summer day than to whip out your charcoal grill and impress your loved ones with your grilling skills. Nonetheless, that is easier said than done. Grilling is an art, which, like any other, takes effort, time, and the right grilling techniques in order to get right.
Are you interested in finessing your charcoal grilling skills? Here are some pointers and tips for charcoal grilling.
The Difference between Grilling, Barbecuing, and Smoking
Unfortunately, most people use the terms grilling, barbecuing, and smoking synonymously, even though they have entirely different meanings. In fact, even the most seasoned grilling experts are usually surprised to learn that they have been barbecuing longer than they have been grilling. Let’s get to the differences.
Grilling
This technique works by heating the meat directly. The surface that is exposed to the burning charcoal, therefore, gets more heat, meaning that you have to flip it in order to get it cooked evenly. Additionally, it allows both sides to get those coveted grill marks.
Arguably the most distinguishing factor between grilling and barbecuing is that grilling is typically done while the lid is off, thus cooking under the open air.
Barbecuing
Barbecuing takes more time. This is because it is done with the lid closed, thus limiting air intake. The purpose of closing the cap is to trap the heat and smoke, which allows for more thorough and even cooking.
When barbecuing is done right, you will not even have to flip the meat so as to ensure consistency. Barbecuing, however, will not give you grill marks.
Smoking
Smoking meat is more of a flavor-enhancing technique than it is a steak-cooking technique. Here, one usually utilizes soaked pieces of wood or wood chips to create a flavorful smoke that enhances the taste of your meat. Read more on delicious smoke flavors here.
Just like barbecuing, smoking is also done under a closed lid. Additionally, it takes an even longer cooking time since it is done under lower temperatures.
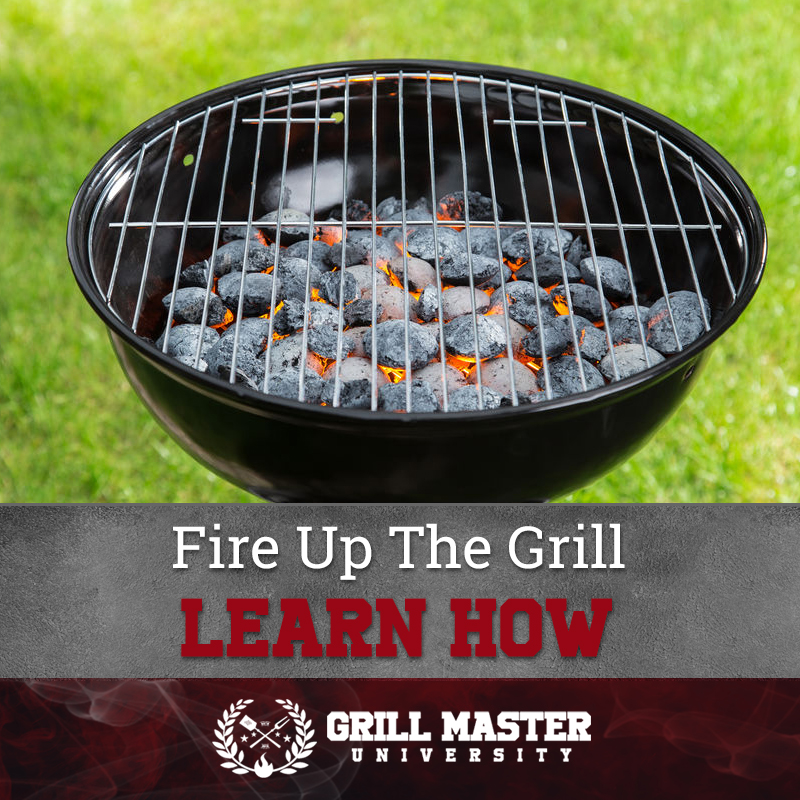
Firing up the Grill
Even though regular wood is cheap, lights easily and burns long and steady, if you are looking for an intense and smoky flavor, you are better off utilizing hardwood charcoal which also referred to as lump charcoal.
Before lighting your grill, first, ensure that the vents are open as they provide an inlet for oxygen to keep your charcoal burning. Once you have placed the charcoal inside the griller, you can regulate the internal cooking temperature through working the vents. A wider vent allows you more oxygen thus a hotter flame, while a narrow vent reduces the cooking temperature as a result of the reduced oxygen. As such, never close your vents completely as your fire might go out.
Consider using a charcoal chimney to start the grill. It is the simplest way to get the charcoal burning without having to use lighter fluid.
At the bottom of the chimney (under the wire rack), there’s a space where you should place pieces of newspaper that you will use to light the grill. Loosely place your papers and fill the chimney with charcoal. Next, remove the top grate from your grill, and put the chimney inside. You can now set the newspapers alight.
Allow your charcoal to burn until they are covered with gray-white ash. It typically takes them around 10 minutes for them to attain high heat and about 30 minutes to level down to medium heat.
When the heat is sufficient, wear your protective gloves and take off the top grate of the grill. Next, hold the chimney by the handles and pour the hot charcoal into the grill. Soak a paper towel into vegetable oil then, using tongs, rub the cloth over the grate. This is to ensure that your food doesn’t stick to the grill.
Using High Heat to Grill
As mentioned, it only takes about ten minutes for the charcoals to attain high heat. So, what can you grill using such heat? Burgers, steaks, and dense vegetables, such as onions and cobs are good candidates.
The benefit of using high heat is that it allows you to obtain a perfect sear on the outside while keeping the inside juicy. Adjust the vents to allow more air if you want to increase your heat.
Using Medium Heat to Grill
Most grills take between 25 and 30 minutes to attain medium heat. Medium heat is ideal for proteins that need to be cooked thoroughly, such as fish, pork, chicken, and uncooked sausages and hot dogs.
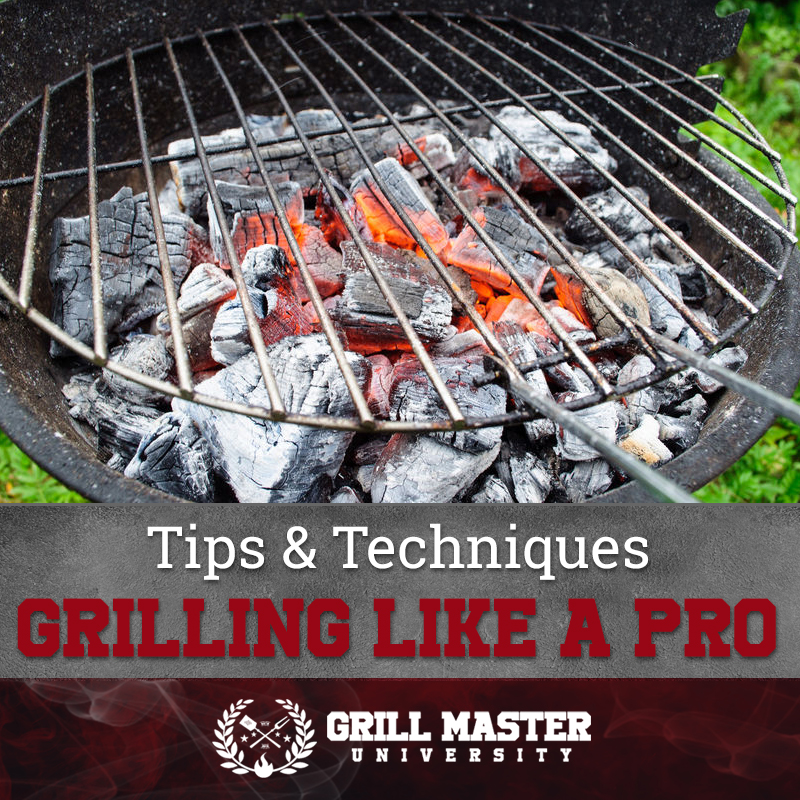
Grilling Like a Pro: Tips and Techniques
Lighting up the charcoal and setting the meat on the grate, and searing it until it cooks is grilling, but very amateur grilling. To truly impress your guests, consider applying the following tips:
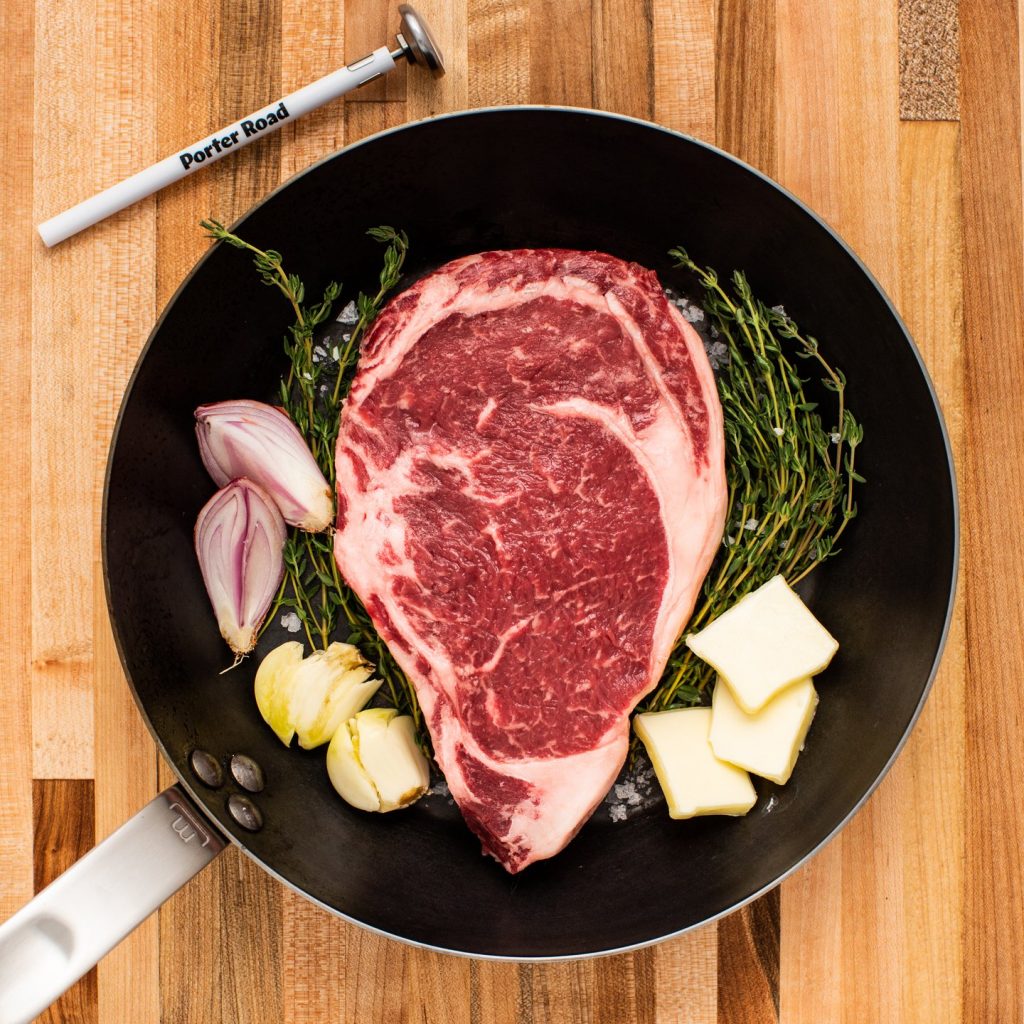
- Use Aged Meat
If the cut is right, you can grill any piece of meat on your smoker, and it will come out tasting good. However, you are not interested in good, but great. This is why you should go the extra mile and get aged meat as it will allow you extra flavor.
Whether to use wet-aged meat or dry-aged meat is entirely dependent on your preferences. What’s for certain, however, aged meat will give you a bigger bang for your back than regular meat. And it is for that reason that it tends to be costlier.
- Let it Settle
If you have just pulled the meat out of the fridge or just purchased it from the frozen section, do not take it to the grill, let it first thaw a little. Putting frozen beef on the grill risks yielding a steak that is charred on the outside but raw on the inside.
Additionally, even if you are somehow able to obtain the appropriate level of doneness, there’s a high probability that you will end up with tough and chewy meat. As such, if you are looking to enjoy a nice and juicy steak, you must allow it to settle to room temperature first before throwing it into the smoker.
- Estimate the Doneness
So, how do you know whether your steak is done? There are two ways to go about it. The first relies on experience. If you have been grilling for a while, then chances are you have an intuitive sense of the state of the meat at any moment. Thus, depending on whether you want your steak rare, medium-rare, or well-done, that intuitive sense will allow you to know when to flip the meat over.
If you lack experience, then you can utilize the rule of thumb, quite literally. To use this technique, open the palm of your hand, and ensure that it is relaxed. Using your other hand’s index finger, press the fleshy area between the open hand’s thumb and the base of the palm. That is how raw meat feels like. This resource for the finger test should help you learn more about using your thumb to estimate the doneness of your meat, so you can know whether it is rare, medium-rare, or well-done.
The easiest way to estimate doneness, however, is to use a meat thermometer; it will give you the best estimate anyway. Just insert the thermometer into the meat and check the readings. If the center is hot; it is well done, if warm; it is medium-rare, if it is cold; it is rare.
- Put Some Grill Marks On It
While grill marks can certainly get your steak looking impressive, they also serve another purpose; they are a sign that the steak has been allowed to cook by itself without any interference, and that the meat had been allowed to settle.
Thus, to get perfect grill marks, avoid fiddling the with meat, and only flipping it over just once. Flipping repeatedly is only going to serves to ruin the marks. Additionally, you will also risk squeezing too much of the steak’s juices.
- Retain the Juices
The mark of a true grilling expert is the tenderness and juiciness of their steak. Thus, to get a perfect grill, you must make sure that your meat retains its juices. These juices allow the meat to cook from the inside well. This not only allows for a tasty product but also drastically reduces your cooking time.
Also, consider to stop using meat tenderizers, as they can let your juices out. And as mentioned earlier, do not keep poking and prodding the meat; allow it to cook by itself.
Utilizing tips should help you grill your tastiest steak ever. Also, consider salting the meat before you grill it. This is because salt draws out moisture. Thus, by applying it when the meat is cooking, you risk draining out the juices.
Cleaning Your Charcoal Grill
After serving your guests with your juicy and tasty steak, start cleaning the grill before it cools down. The heat will make your cleaning efforts easier. Use a stiff wire grill brush to remove food particles from the grate.
Final Thoughts
Are you thinking about showing off your grilling skills? Get yourself a charcoal grill, and be sure to employ the tips for charcoal grilling in this article. Got any grilling questions (pun intended)? Let us know, and we will be happy to answer them.