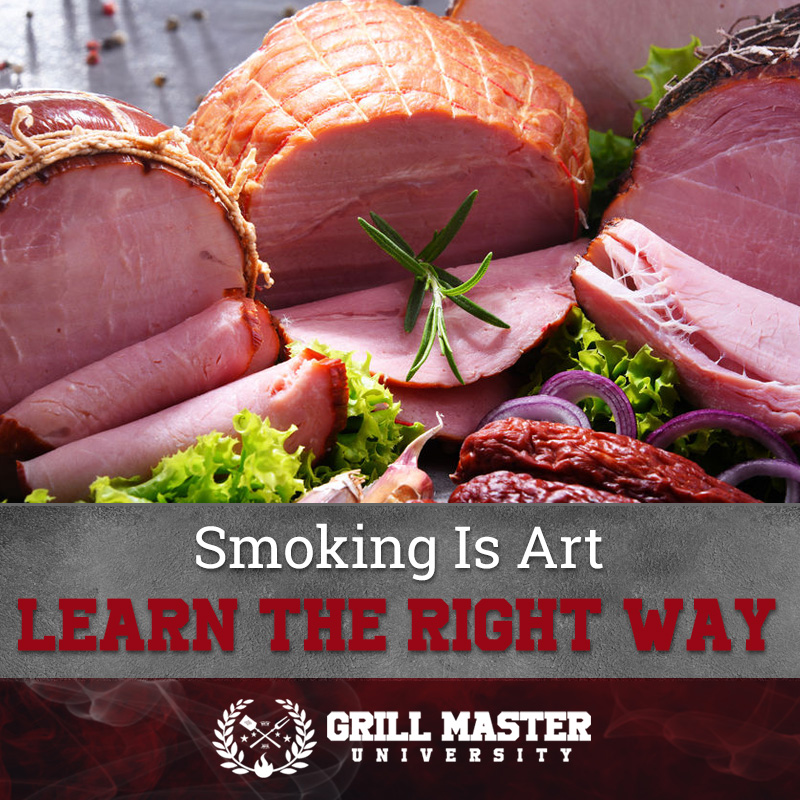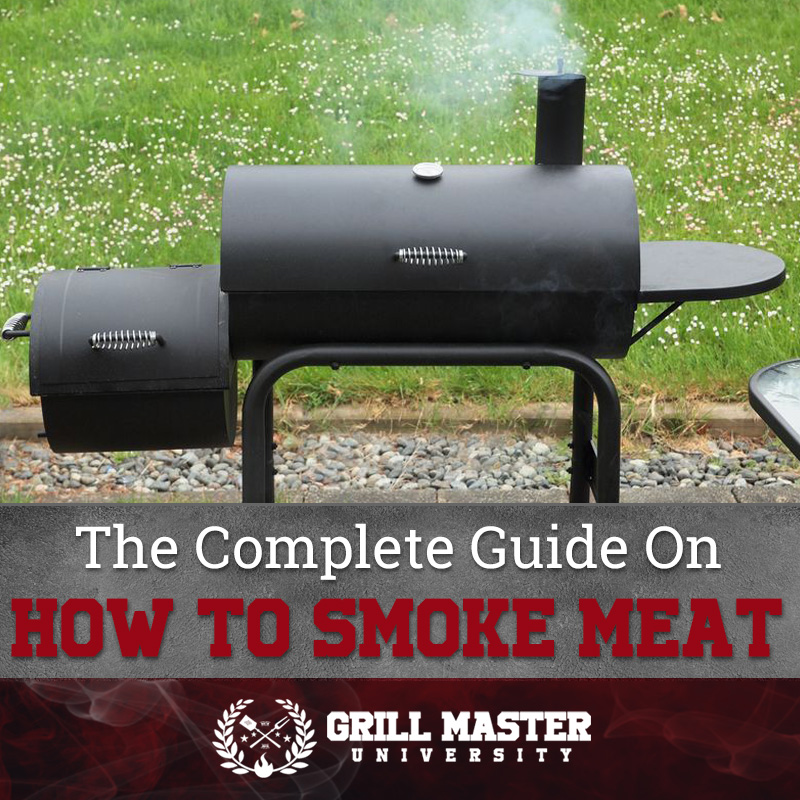


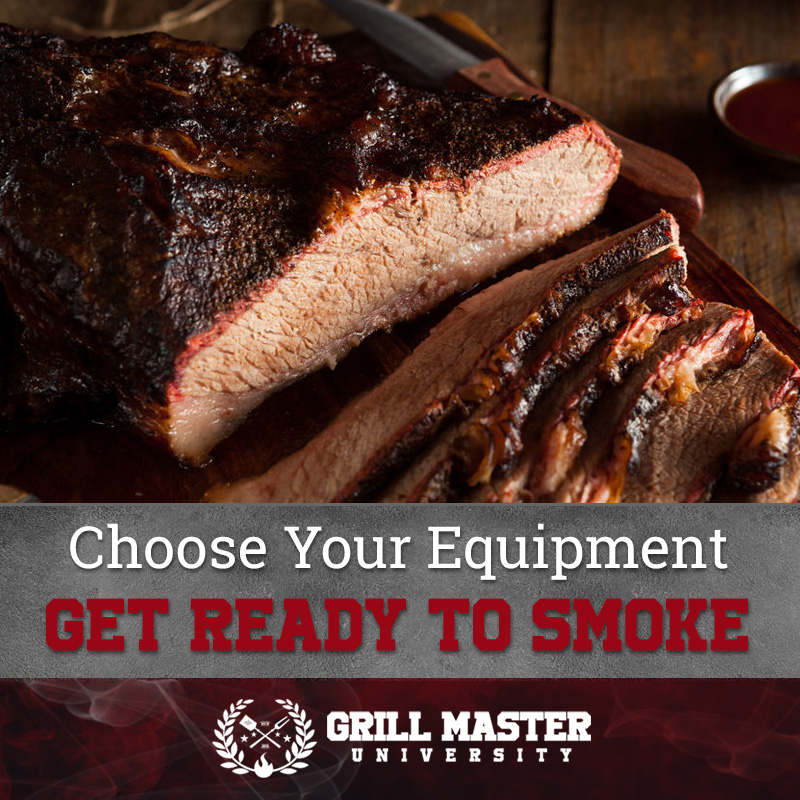
Smoked Meat Recipe
Despite the science behind cooking food, most of you would likely agree that smoking meat is an art form. You can re-create a slice of smoked meat that rivals or even surpasses that of a renowned restaurant in the comfort of your own home.
Servings: 4
Calories: 301kcal
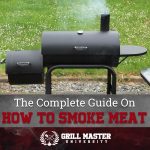
Equipment
- Smoker
- Marinade, brine, or rub
- Drip pan or pan from broiler oven
- Wood – pellets, chunks, or chips
- Chimney starter
- A charcoal or gas grill
- Aluminum foil
Ingredients
Easy rub
- 3 tablespoons brown sugar
- 1.5 tablespoons paprika
- 1.5 tablespoons Kosher salt
- 1.5 tablespoons of black pepper
- 1 teaspoon of garlic powder
Brine
- ¾ cup of Kosher salt for every gallon of water
Easy basic marinade
- ½ cup of olive oil
- ¼ cup soy sauce
- 1 tablespoon of fresh lemon juice
- 2 tablespoons of minced garlic
- 1 tablespoon of Dijon mustard
Instructions
- If you grill often, you know there are very few foods you can’t just pop over the coals for a quick-seared finish.
- Ideal types of meat that hold up well in the smoker are lamb and mutton, pork, beef, and game. Poultry like chicken needs additional care so it does not dry out.
- Skip the white fish.
- However, the oily and sturdy composition of salmon makes it a delicious alternative for the smoker.
- Select marinades or rubs based on your personal preference.
- Chicken will more likely need a marinade as it tends to require additional moisture when cooking.
- Beef and pork can suffice with a dry or wet rub.
- A rub is similar to a marinade but imparts flavor without the necessity of long exposure before cooking.
- Both rubs and marinades can be from homemade recipes or store-bought.
- Bring your chosen cut of meat to room temperature before exposing it to the heat of your smoker.
- For beef or pork, it should already be at room temperature when you are ready to apply the rub.
- Coat with your selected recipe of spices and you’re good to go.
- Chicken that has been sitting in a marinade for several hours should be allowed to warm on the counter before smoking.
- The exception is if you will smoke the meat all day.
- In this case, the meat has time to warm slowly before starting to cook.
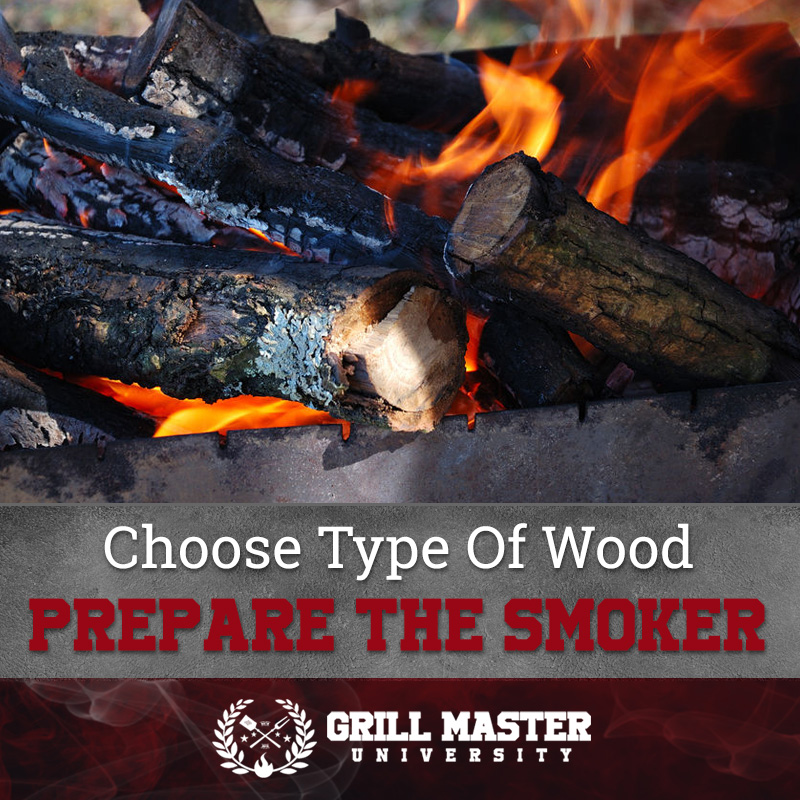
- Choosing which kind of wood to use when smoking different classes of meats are rather intuitive.
- Heavier stronger woods perform better to flavor beef, mild and sweeter woods for chicken and fish, and medium woods for pork.
Smoker
- The coals should be just starting to ash.
- Add your fuel source to the firebox.
- Using coal as your main fuel and wood as a supplement creates a more manageable heat source than using wood as the primary energy.
- Using too much wood can create excessive smoke and ash.
- Preheat the smoker to 225 degrees to 250 degrees Fahrenheit.
- This one you can place closer to the heat source.
- You can bore a hole near where the meat will sit or utilize an installation kit designed for this. It enables you to check temperature periodically without opening the smoker (simply insert a thermometer to measure then remove when you have your reading).
- Maintain the smoker between 225 degrees and 250 degrees Fahrenheit.
- This is where it can get a bit tricky.
- There are two baffles or vents equipped on the smoker that control oxygen flow across the coals (intake) and smoke in the chamber (chimney).
- In the initial stages, you want to mainly focus on the intake baffle to stabilize the temperature. Close this valve gradually until the temperature remains steady.
- Add wood to the coals.
- I recommend wood chunks in a smoker because they smolder more slowly than chips.
- When adding wood to coals, soaking in water first is often unnecessary and perhaps even undesirable as you don’t want to dampen your coals.
- Add the water pan (optional). Moist smoke tends to help smoked foods absorb more flavor.
- Smokers come equipped with a water pan.
- Add water to about a half inch of depth to the pan and place it on top of a rack (usually there is a place for it on top of the coals). Not everyone uses a water pan.
- Allow your food to cook.
- Once you have a stable temperature and have added your water pan and wood, you should not open the smoker except to add more coal or water or to wrap the meat.
- Opening the smoker to “check” the cooking process disrupts the low steady heat you need by allowing both heat and smoke to escape.
- Knowing approximately how long your food will take to cook will help you refrain from opening the smoker prematurely.
- Brisket – one and a half hours to two hours per pound depending on thickness Short ribs – five to eight hours (internal temperature 190 to 200 degrees)
- Short ribs – five to eight hours (internal temperature 190 to 200 degrees)
- Country style ribs – two to four hours total cooking time (internal temperature 175 to 180 degrees)
- Country style ribs – two to four hours total cooking time (internal temperature 175 to 180 degrees)
- Pork Butt – 12 to 14 hours (internal temperature 205 degrees)
- Spare ribs – five to six hours (internal temperature 180 to 185 degrees)
- Chicken – four to five hours (internal temperature 165 degrees)
- Salmon or tilapia fillets – one hour (internal temperature 130 to 135 degrees)
- Steaks – an hour per one and a half pounds, maybe less depending on how well-cooked you want it (rare internal temperature 125 degrees, medium rare 135 to 145 degrees)
Charcoal grill
- Once coals have been heated in the chimney lighter, add them to the bottom of your grill.
- Isolate the pile on one side. Make sure you have a ventilation hole on your grill.
- Add a drip pan on the opposite side to the charcoal.
- If performing a wet smoke, place water or juice in the drip pan.
- You will place your meats on the rack over the drip pan.
- Place wood chips or chunks on top of the hot coals.
- You can use a thermometer similar to how you use it in a smoker to attain a temperature of 225 degrees before placing the food.
- Add your chicken thighs or brisket to the grill and close it.
Gas Grill
- Place your wood chunks or chips in a metal pan and set them directly over the flames on one side of the grill.
- Preheat your gas grill by turning settings on burners to high and leaving them like that for twenty minutes.
- Temperatures will be more difficult to maintain without this step.
- Once time is up, turn off all burners except for the one under your wood chunks.
- Place the meat you are smoking on the grill opposite to the pan holding wood.
- Close the lid to the gas grill, leaving a small gap for ventilation and circulation of the smoke.
Nutrition
Serving: 100g | Calories: 301kcal